 |
|||||
|
It's Free! |
|||||
|
|||||
|
It's Free! |
|||||
 |
||||||
| By Jon Maib | ||||||
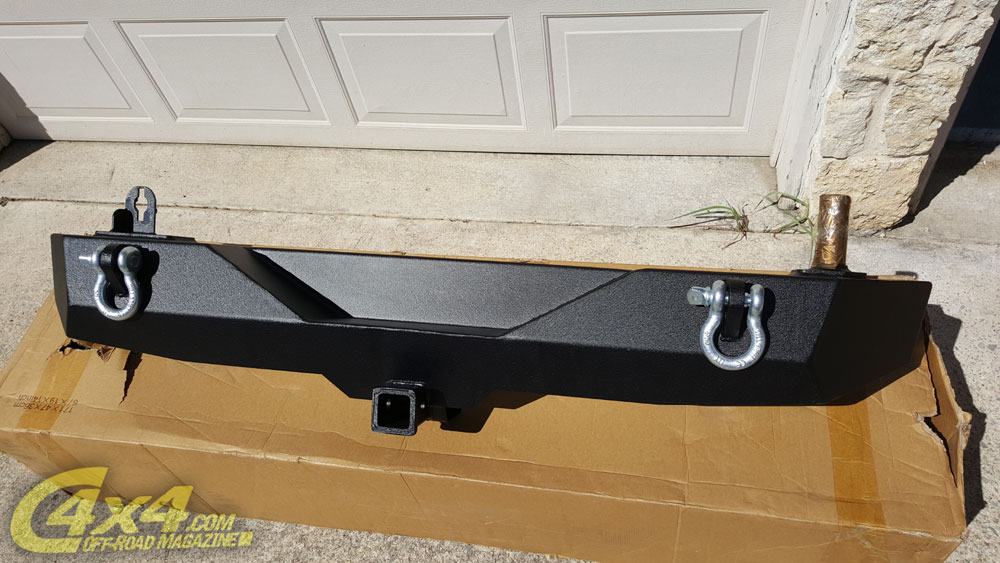
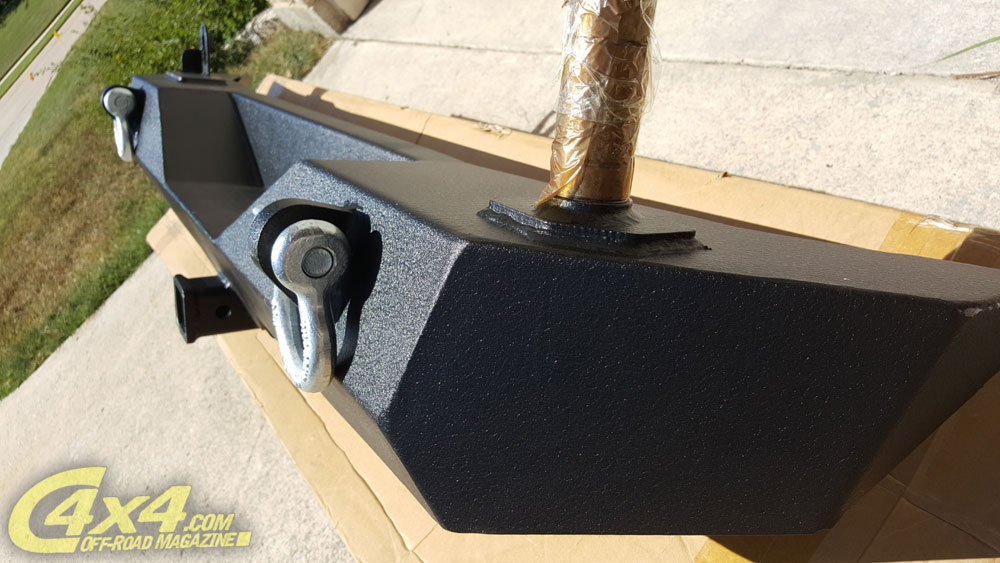
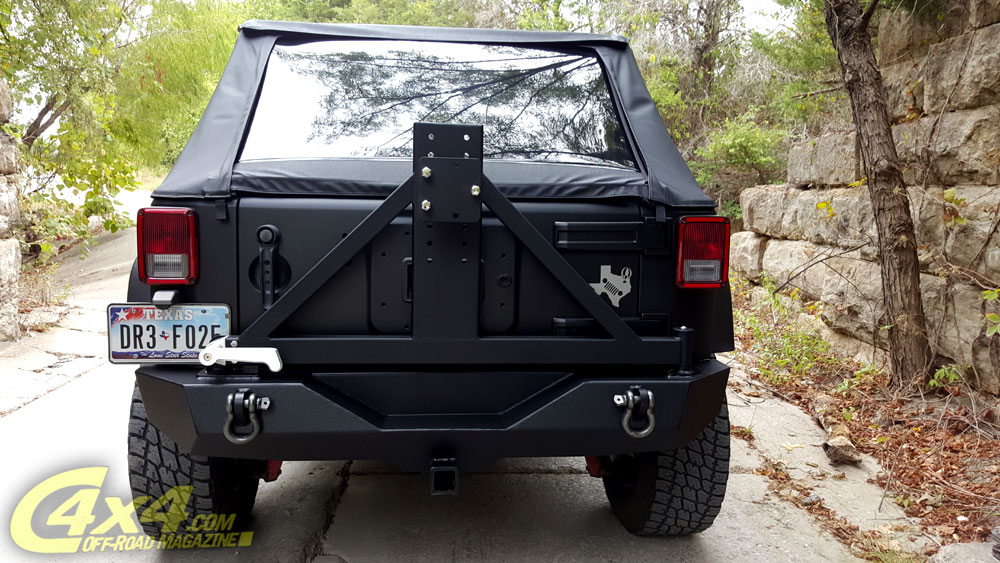
| Last month, we reviewed the Barricade Trail Force HD front bumper from Extreme Terrain, and what better way to finish out the rear of the Jeep than to add a matching rear bumper and tire carrier. That's what we did for Project Vulture. The Trail Force HD rear bumper is made from the matching 3/16" steel, has an included 2" standard receiver hitch (take note: the receiver is NOT tow rated), also comes with 2 high strength D-rings mounts and included D-rings and has the same cool black texture paint used on the Front Trail Force HD bumper. The swing arm tire carrier can fit up to a 37" tire and is also made from the 3/16" steel and has a well designed latch.
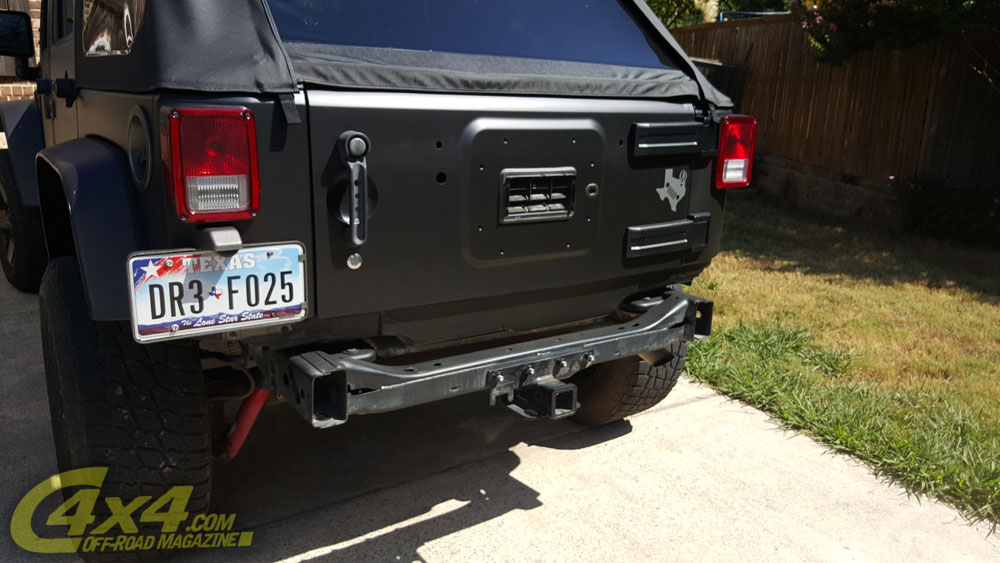
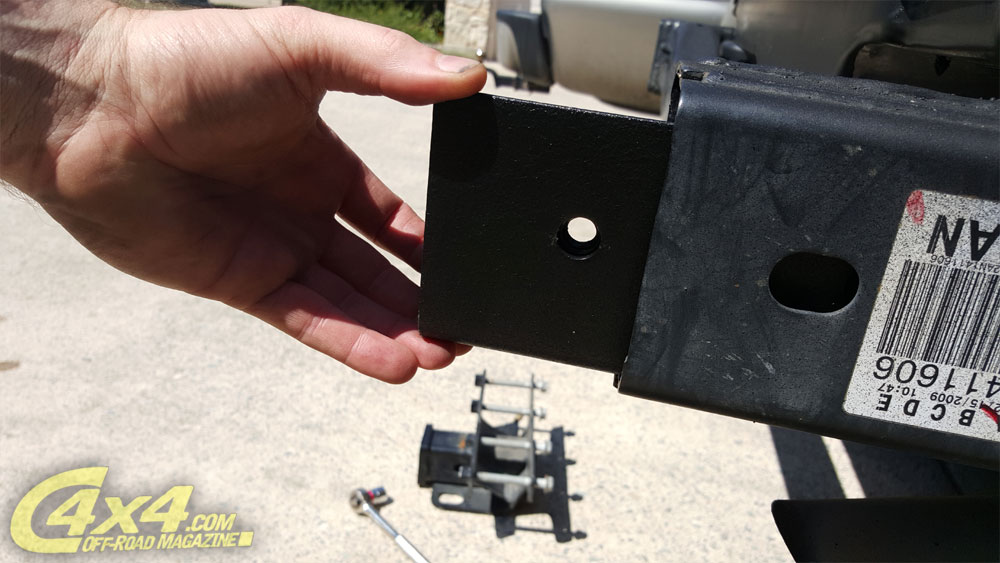
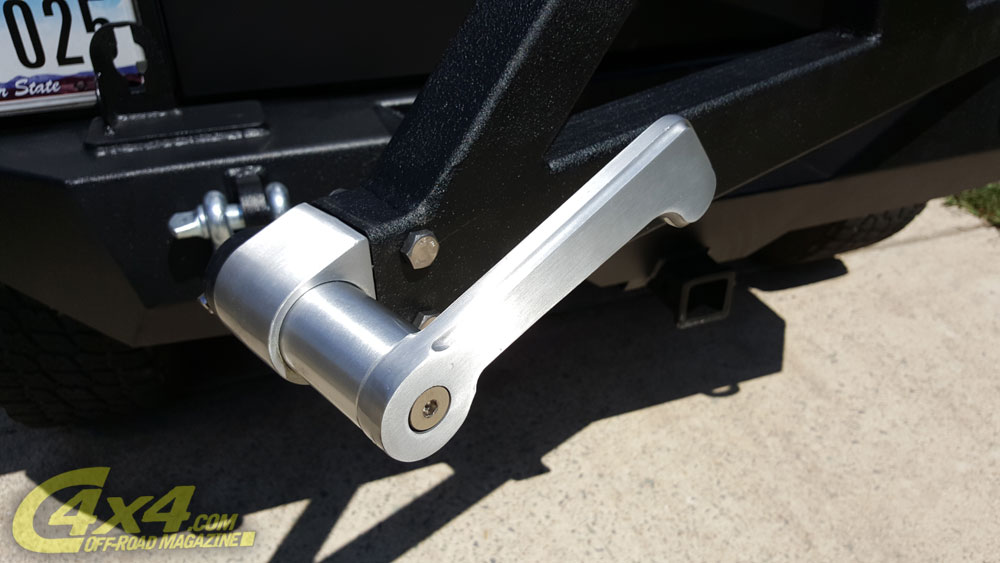
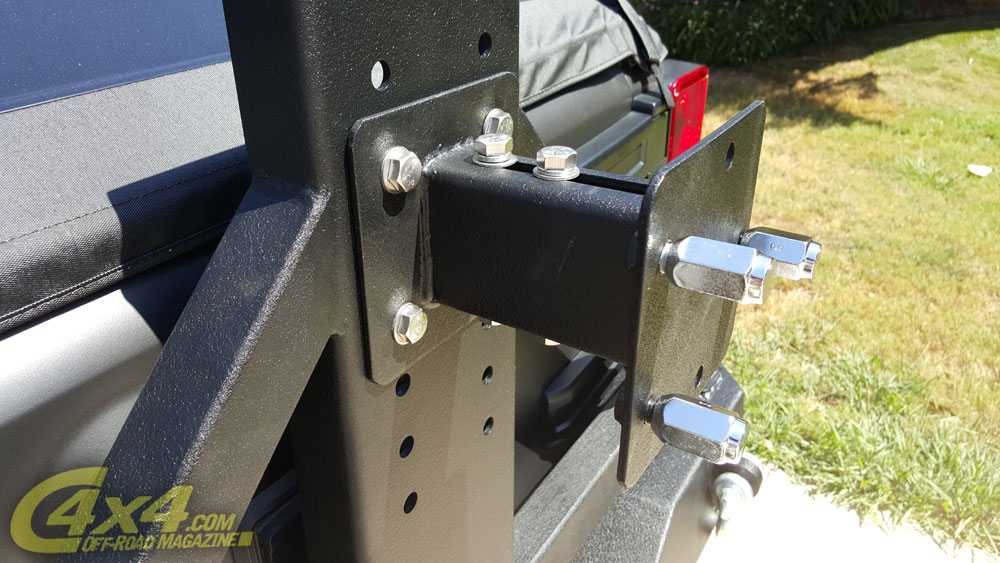
The installation of this bumper is as easy as the front bumper! You will need to begin by removing your spare tire and then the 13mm bolts that hold the stock carrier to the tailgate. Disconnect the 3rd brake light cable which can be accessed by a panel on the inside of the tailgate. After the 3rd brake light is removed, you will need to get under the Jeep to remove the 4 bolts (15mm) that are securing the stock bumper to the frame. If you have a Rubicon model and it has the tow hitch, you will also need to remove that as well (or like our Jeep, we added one we got from a buddy). There are 4 additional bolts that attach the tow hitch to the frame. Now that everything is off, it's time to install the new bumper. Begin by taking the supplied L-shaped brackets and inserting them into the rear frame rails so that the holes match up to the holes on the frame. Once those are in place, you can place the bumper on the frame rails. We recommend you have an extra set of hands for this as the bumper can be heavy but, one person can install this as well. Once you have the Trail Force rear bumper lined up with the holes on the outer side of the frame rails, you can attach the bumper to the frame with the supplied bolts and nuts starting with the outer holes on the frame so that you can adjust the bumper to ensure its level. You will also need to put the 4 new bolts into the location of the tow hitch, if you had one. (All hardware is supplied by Extreme Terrain for the bumper attachment, including the hitch bolts.) Once the bumper is on and all the bolts are tightened down, you can install the new swing arm rear tire carrier. To install, it's as easy as just sliding the swing arm over the post welded to the bumper. Adding a little grease on the post will help it slide on a bit easier and will also help provide a smooth operation of the swing out carrier. When the swing arm is on, you can then install the supplied top cap to the post with provided allen-head bolt. To finish out the swing arm, you will need to install the locking latch (which in itself is a masterpiece) by sliding it into the tube and securing it with the 2 nuts and bolts provided in the kit. Lastly, you will need to add the actual tire carrier. One of the things we like best about this is that Barricade really thought about the different tire configurations and provides you with a bunch of holes to pick from to install your tire on. Don't like how high or how low it's sitting, just move the carrier up or down, it's that simple! Now let's talk about form and function. The swing out tire carrier is easy to open and gives quick access to the tailgate of the Jeep. The bumper sits flush to the body and protects the rear body panels from getting smashed by a rock and most importantly, the bumper looks great and finishes out the Jeep with the matching front and rear bumpers. After our last off-roading trip, we can attest to the strength of this bumper, as we beat and drug it around the Arbuckle Mountains and the bumper took everything we threw at it.
|
||||||